
Runtimes
Rigby2D animations play in games and apps through the included runtimes. All of them load skeleton
.json (3.8, 4.2, 4.3) or binary .skel (4.3) with an .atlas, and evaluate meshes, weights, skins,
image sequences, clipping, IK, transform, path, physics and slider constraints, draw order, events and
layered tracks with crossfades. They also play scenes: several
characters on a stage with a moving camera and parallax.
RigbySkeleton2D and RigbyScene2D nodes, a GDExtension on the Rust core. Godot 4.3+ · Windows, macOS, Linux
Unity CompleteRigbySkeleton and RigbyScene components in C#, multi-core, no garbage. Unity 2021.3+ and Unity 6 · every platform
Defold NewA native extension: the runtime in C++, golden-tested like the Rust one, a model component the Defold editor plays live, and a Lua player. Defold 1.14+ · every platform
Cocos Creator CompleteA RigbySkeleton component for 2D scenes, drawn in order with sprites and UI. Cocos Creator 3.8 · web and native
Phaser CompleteA plugin: this.add.rigby(), on the JavaScript runtime. Phaser 3.60+ and 4 · WebGL
PixiJS NewNative PixiJS display objects, batched with your sprites. PixiJS 8 · WebGL and WebGPU
JavaScript CompleteNo dependencies, with a ready-made WebGL renderer. src/core · src/webgl
Rust CompleteNo dependencies; matches the JavaScript runtime frame by frame, 3 to 4× faster. runtimes/rust/rigby-runtime
The landing page of the website plays NILA with the JavaScript runtime.
From the editor: File ▸ Get runtimes… downloads the runtimes that match your editor's version: the Unity package (or its git URL), the Godot addon for your system (or installs it straight into a Godot project), the Cocos Creator package (or installs it straight into a Cocos project), and the Phaser and PixiJS bundles. The welcome screen also offers a Phaser game starter: a small playable game with NILA to build on.
#JavaScript
Copy src/core/ into your project (and src/webgl/ for a ready-made renderer):
import { AnimationState, Pose, parseAtlas, readSkeletonJson } from './core/index.js';
import { WebGLRenderer } from './webgl/renderer.js';

const { skeleton } = readSkeletonJson(JSON.parse(jsonText), 'hero'); // hero.json
const pose = new Pose(skeleton);
const state = new AnimationState();
state.play(skeleton, 'walk', true, 0.2);              // track 0, 0.2 s crossfade
state.setAnimation(skeleton, 1, 'shoot', false, 0.1); // track 1 layers on top
state.addAnimation(skeleton, 0, 'idle', true, 0.3);   // queued after walk

const renderer = new WebGLRenderer(gl);
const textures = renderer.atlasTextures(parseAtlas(atlasText), { 'hero.png': pageImage });

function frame(dt) {
  state.update(skeleton, dt);
  state.apply(skeleton, pose);
  renderer.begin(canvas.width, canvas.height, { x: 0, y: 200, zoom: 1 });
  renderer.drawSkeleton(skeleton, pose, textures);
  renderer.end();
}For .skel files use readSkeletonJson(readSkeletonBinary(bytes), 'hero'). With another renderer,
draw pose.quads(skeleton): world-space positions (Y up), UVs, tint and blend mode per region and
mesh. examples/webgl.html is a small player (npm run web:dev, then open /examples/webgl.html).
#Events
state.addListener({
  start: (entry) => {},
  complete: (entry) => {},
  event: (entry, e) => playSound(e.audio ?? e.name, e.volume), // { name, time, int, float, string, audio, volume, balance }
});Physics simulates while AnimationState updates; pose.resetPhysics() starts it over.
#Rust
use rigby_runtime::{load_skeleton, Atlas, AnimationState, Pose, RegionLookup, RenderOutput};

let data = load_skeleton(&std::fs::read("hero.skel")?)?;
let atlas = Atlas::parse(&std::fs::read_to_string("hero.atlas")?);
let lookup = RegionLookup::new(&data, &atlas);
let (mut pose, mut state, mut out) = (Pose::new(&data), AnimationState::new(), RenderOutput::default());
state.play(&data, "walk", true, 0.2);

// Every frame:
state.update(&data, dt);
state.apply(&data, &mut pose);
out.build(&data, &pose, &lookup, [1.0; 4]);
for batch in out.batches() { /* positions, UVs, colors, indices for atlas page `batch.page` */ }Scenes: rigby_runtime::scene::load_scene(&manifest, |file| std::fs::read(dir.join(file))) returns a
ScenePlayer (play, update, draw_list).
It matches the JavaScript runtime frame by frame (golden tests, including a scene). Build and test with
cargo test --release --workspace in runtimes/rust. See the
runtimes README.
#Phaser
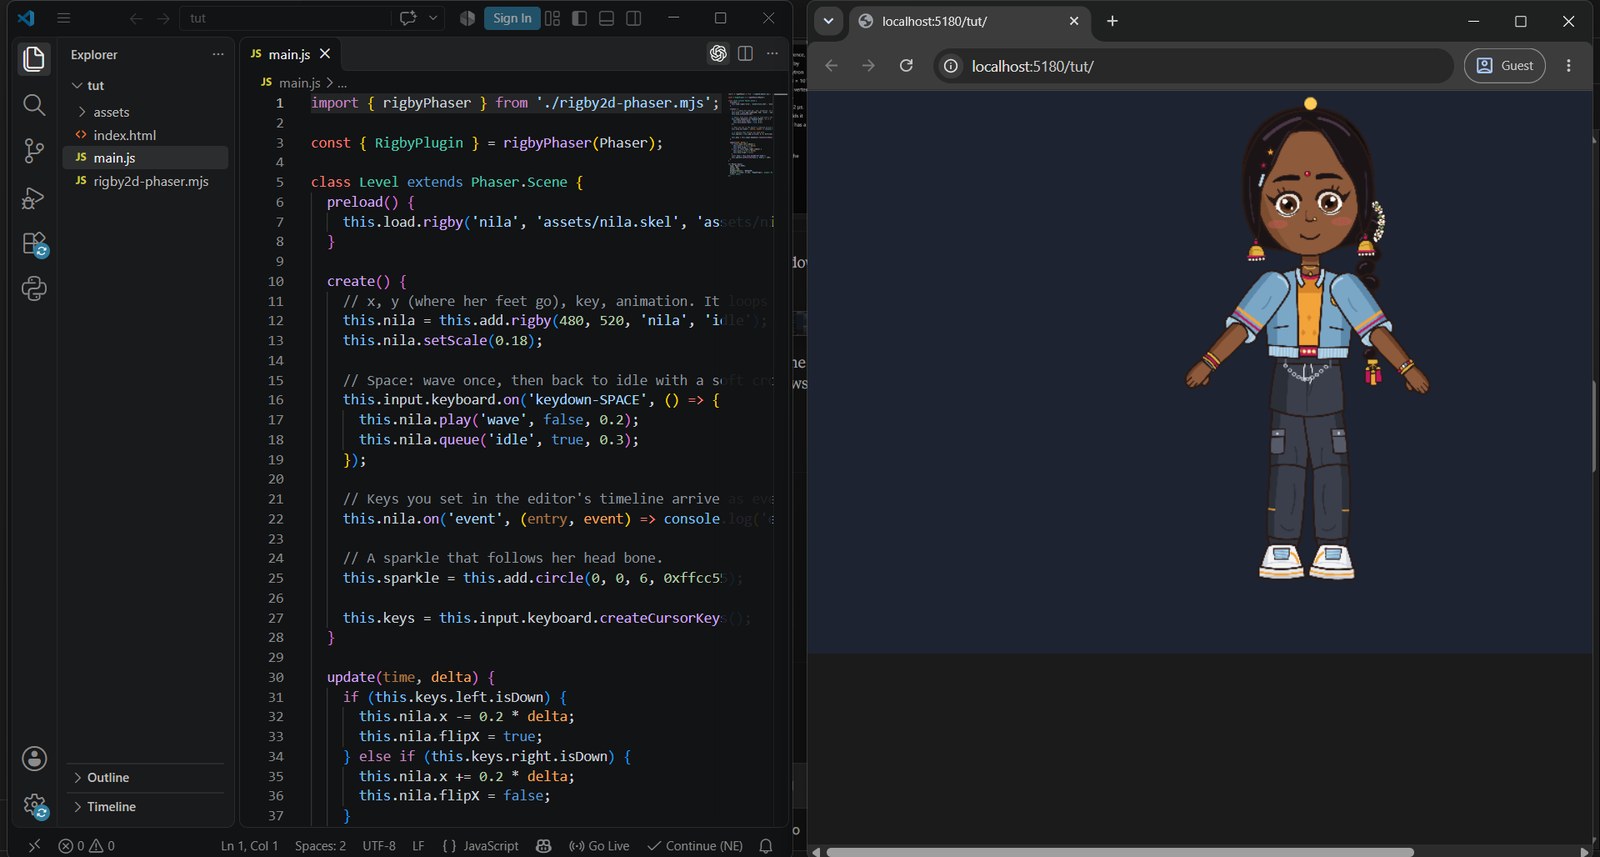
A plugin for Phaser 3.60 or newer, and Phaser 4 (WebGL). Download rigby2d-phaser-<version>.mjs
or the script-tag rigby2d-phaser-<version>.js from the
latest release:
import { rigbyPhaser } from './rigby2d-phaser-<version>.mjs';
const { RigbyPlugin } = rigbyPhaser(Phaser);
// game config: plugins: { scene: [{ key: 'RigbyPlugin', plugin: RigbyPlugin, mapping: 'rigby' }] }

// in a scene:
preload() { this.load.rigby('hero', 'assets/hero.skel', 'assets/hero.atlas'); }
create() {
  const hero = this.add.rigby(400, 500, 'hero', 'idle');
  hero.play('run', true, 0.2);                       // crossfade over 0.2 s
  hero.on('event', (entry, e) => console.log(e.name));
}A RigbySkeleton is an ordinary Phaser game object (position, scale, rotation, alpha, depth, flips,
input) with the full animation state: tracks, crossfades, queues, skins, events and bone positions
for attaching objects. It plays exactly as the editor does. See the
Phaser guide.
#PixiJS
Native PixiJS 8 display objects, on WebGL and WebGPU. Download
rigby2d-pixi-<version>.mjs or the script-tag rigby2d-pixi-<version>.js from the
latest release:
import * as PIXI from 'pixi.js';
import { rigbyPixi } from './rigby2d-pixi-<version>.mjs';
const { loadRigby, RigbySkeleton } = rigbyPixi(PIXI);

const hero = new RigbySkeleton(await loadRigby('assets/hero.skel', 'assets/hero.atlas'), { animation: 'idle' });
hero.position.set(400, 550);
app.stage.addChild(hero);
hero.play('run', true, 0.2);                         // crossfade over 0.2 s
hero.attachToBone('hand_r', sword); // any display object follows a boneA RigbySkeleton is a PixiJS Container. Its attachments are PixiJS meshes that go through
PixiJS's batcher, so a character is usually one batched mesh, drawn in the same draw calls as your
sprites. Filters, masks, tint, alpha, blend modes, bounds and pointer events work as for any display
object. It has the full animation state (tracks, crossfades, queues, per-object skins, events),
two-color tint on WebGL and WebGPU, and bone positions for attaching objects. It plays exactly as
the editor does. See the
PixiJS guide.
#Defold
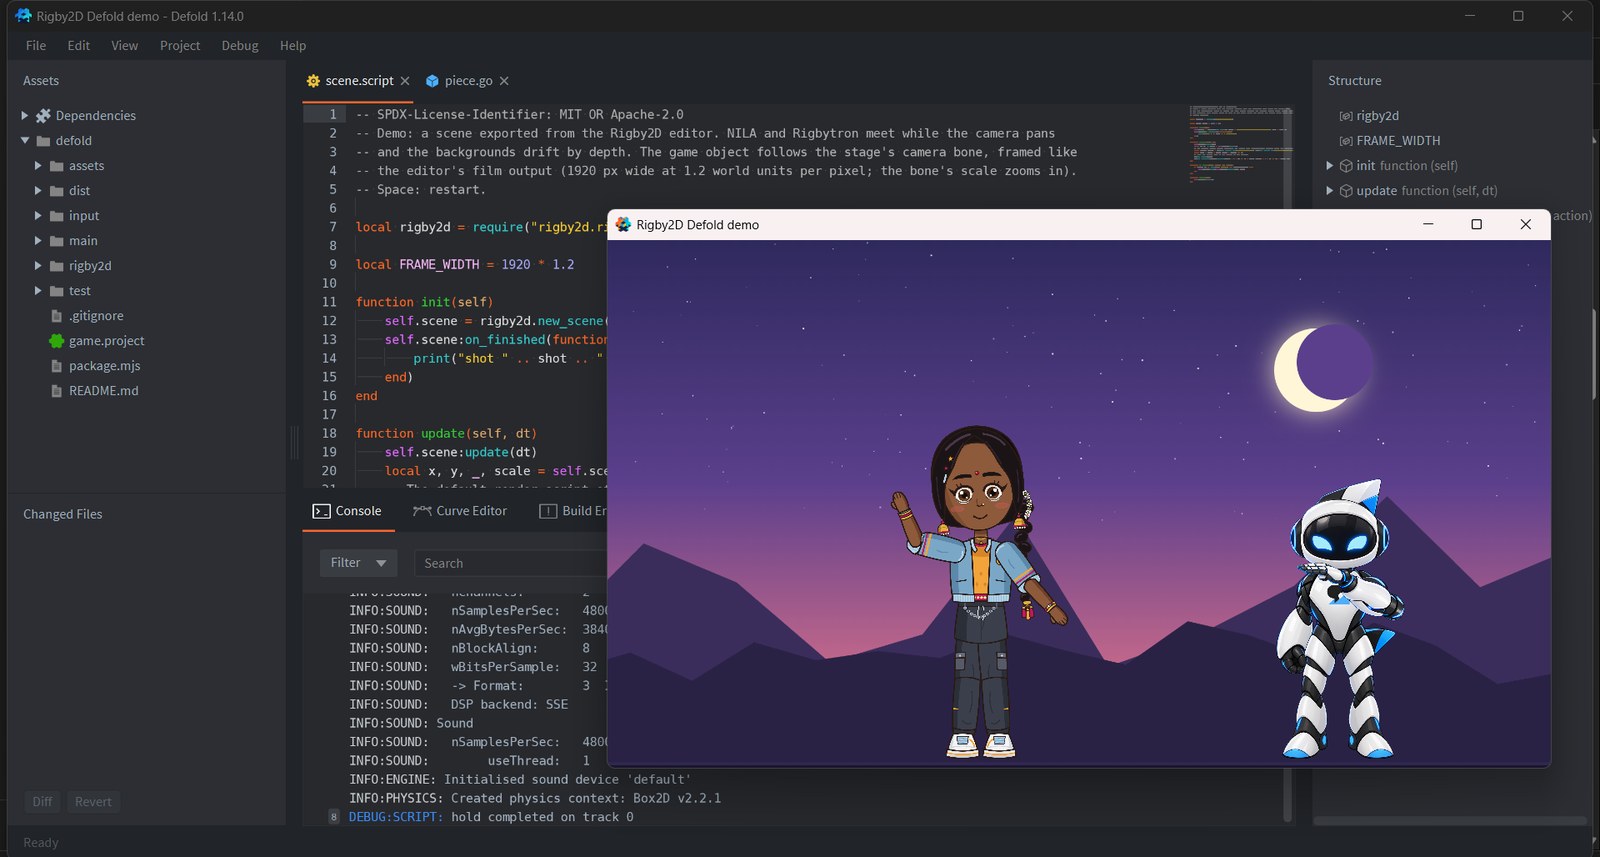
The rigby2d native extension for Defold 1.14 or newer. Its runtime is a C++ port of the Rust one,
tested frame by frame against the JavaScript runtime in CI, and Defold's build server compiles it
for every platform (Windows, macOS, Linux, Android, iOS, HTML5). Add the library to game.project ▸
Dependencies and choose Project ▸ Fetch Libraries:
https://github.com/jaisurya-dev-art/rigby2d/releases/latest/download/rigby2d-defold.zipRigby2D models, live in the Defold editor. File ▸ Export ▸ Defold model… saves a character into
your Defold project as a Rigby2D Model component (hero.rigbymodel, with its skeleton, its images
in a Defold atlas, and a game object hero.go). Drag hero.go into a collection: the Defold editor
plays the model in the scene view through the Rigby2D runtime itself, so pick an animation and a
skin in its properties and press Play (Space) to watch it move. In the game it plays
natively, and scripts drive it:
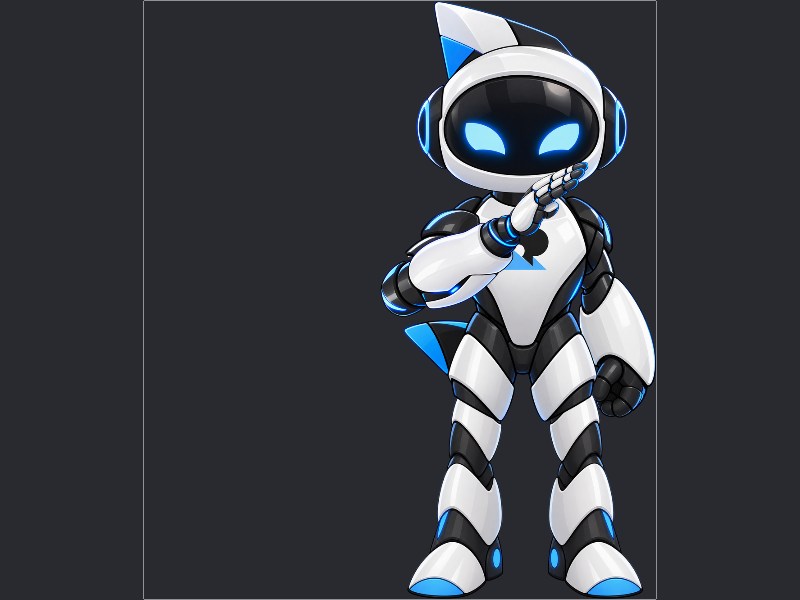
rigby.play("hero#rigbymodel", "attack", { loop = false, mix = 0.1 })
rigby.queue("hero#rigbymodel", "idle", { mix = 0.2 })
rigby.on_event("hero#rigbymodel", function(self, event) print(event.kind, event.name) end)rigby.set_skin, rigby.bone (to attach things to bones), rigby.stop and go.get / go.set of
animation, skin and playback_rate do the rest.
Or play a skeleton from a script, to create characters from code or play scenes (they appear
when the game runs). Put your export (.skel or .json, .atlas and its .png) in a folder listed in Custom
Resources. On the character's game object, add a factory with the id rigby2d and the prototype
/rigby2d/piece.go, and a script:
local rigby2d = require("rigby2d.rigby2d")

function init(self)
	self.hero = rigby2d.new({ skeleton = "/assets/hero.skel", atlas = "/assets/hero.atlas", animation = "walk" })
	self.hero:add_animation(0, "idle", true, 0.3)
	self.hero:on_event(function(e) if e.name == "footstep" then sound.play("#step") end end)
end

function update(self, dt) self.hero:update(dt) end
function final(self) self.hero:delete() endThe C++ runtime writes the triangles straight into the vertex buffers of a few mesh components:
no work per vertex in Lua and no allocation in steady playback. player:bone(name) places
weapons and effects on bones, and rigby2d.new_scene({ scene = "/assets/intro/intro.scene.json" })
plays a whole scene, with the stage's camera to follow. The demo (rigby2d-defold-demo on the Releases page) plays
Rigbytron as a Rigby2D model and NILA from a script. See the Defold guide for every call.
#Cocos Creator
The RigbySkeleton component for Cocos Creator 3.8: a 2D renderer, so under a Canvas it draws in
order with your sprites and labels, follows the node's color and opacity, and works in 2D-only
projects. It plays every Rigby2D feature with the JavaScript runtime, so characters move exactly as
in the editor. Tested in Cocos Creator 3.8.8.
- Unzip
rigby2d-cocos-<version>.zipinto your project'sassets/(or use File ▸ Get runtimes… ▸ Install into a project…). - Copy your exported
.json(or.skel),.atlasand.pngintoassets/. Cocos turns the.json+.atlaspair into a Skeleton Data asset. - Add Rigby2D ▸ RigbySkeleton to a node under your Canvas, set Skeleton Data to that asset and Animation to the one to play.
const rigby = this.getComponent(RigbySkeleton)!;
rigby.setAnimation(0, 'run', true, 0.2);
rigby.addAnimation(0, 'idle', true, 0.3);
this.node.on(RigbySkeleton.EVENT, (e: RigbyEvent) => console.log(e.name, e.time));RigbyBoneFollower keeps any node (a weapon, particles, a collider) on a bone. Coming from DragonBones?
Open your project in Rigby2D first (Coming from DragonBones), then
export it for Cocos. See the Cocos Creator guide
(中文) for every property and method.
#Unity
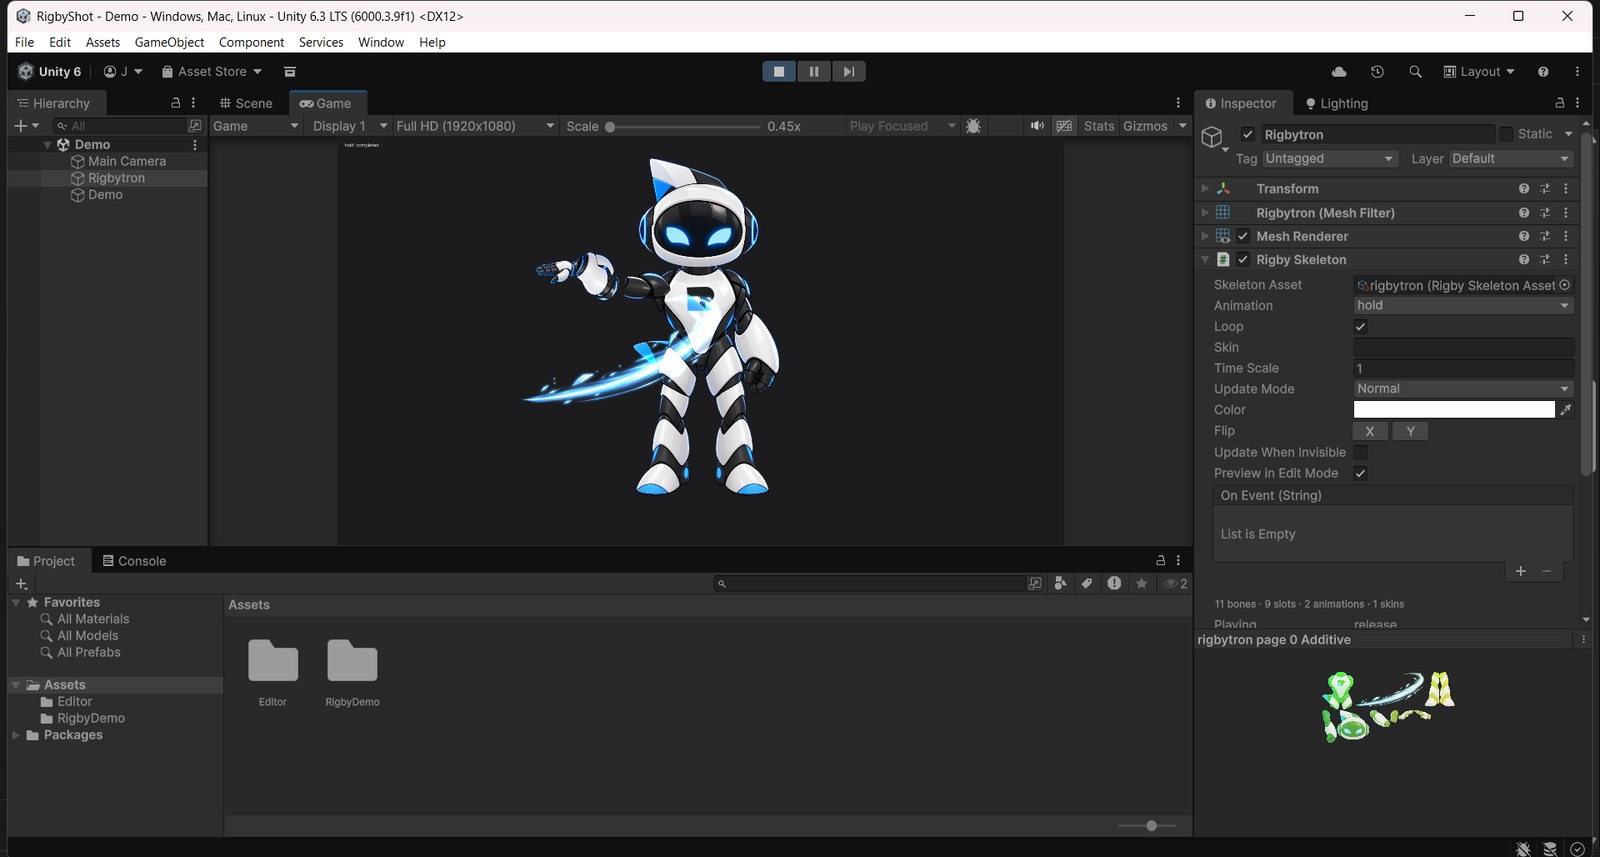
The com.rigby2d.unity package for Unity 2021.3 or newer (Unity 6 included), Built-in or
Universal render pipeline. In Unity: Window ▸ Package Manager ▸ + ▸ Install package from git URL…
https://github.com/jaisurya-dev-art/rigby2d.git?path=/runtimes/unity/com.rigby2d.unityDrop an export (.skel or .json, .atlas and its .png) into Assets: the .atlas becomes a
skeleton asset. Drag it into the scene, pick an animation, and it plays (in the editor too). Scenes
exported with File ▸ Export ▸ Scene for runtimes import the same way and play with the RigbyScene
component, which can drive a camera.
var hero = GetComponent<RigbySkeleton>();
hero.Play("walk", loop: true, mix: 0.2f);
hero.AddAnimation(0, "idle", loop: true, mix: 0.3f);
hero.AnimationEvent += (s, e) => { if (e.Name == "footstep") step.Play(); };
gun.position = hero.GetBoneWorldPosition("gun-tip");- Every core, no garbage: playing skeletons pose and build their meshes in parallel, and steady playback allocates nothing. 200 NILAs (39 bones, 1,002 skinned vertices each) take 5.0 ms a frame in an IL2CPP player on a 4-core laptop, upload included: 25 µs a character.
- Tested in Unity 6.3 (Built-in and Universal render pipelines) and 2022.3, in IL2CPP and Mono players.
- Clean edges in Gamma and Linear color space: the shader handles straight or premultiplied atlases itself, with two-color tint and every blend mode.
- The same animation as the editor: the C# runtime is tested frame by frame against the JavaScript runtime, like the Rust one.
See the Unity guide for every component, property and event.
#Godot
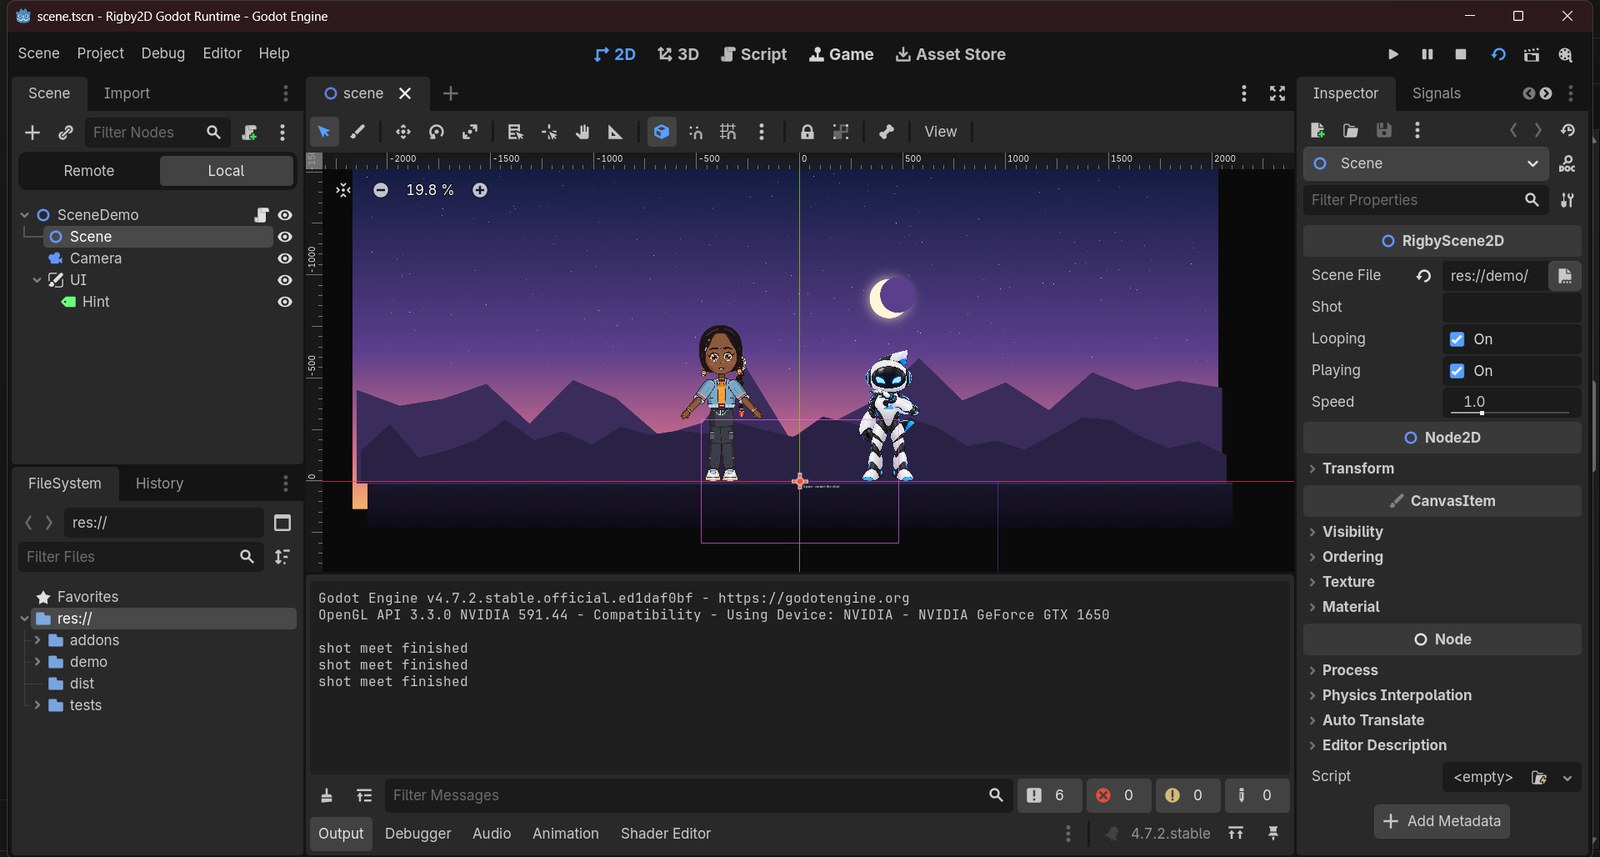
The RigbySkeleton2D node for Godot 4.3+ (prebuilt for Windows x64, macOS and Linux x64).
Install the rigby2d-godot-addon zip for your system from the
Releases, or with File ▸ Get runtimes… in
the editor, into your project, add the node, and set Skeleton File, Atlas File and Animation.
@onready var hero: RigbySkeleton2D = $Hero

func _ready() -> void:
	hero.animation_event.connect(_on_event)
	hero.play("walk", true, 0.2)
hero.queue(0, "idle", true, 0.3, -1.0)For scenes, the RigbyScene2D node plays a .scene.json export: the stage, every character
and their clips, with the stage's camera available for a Camera2D. See the
Godot guide for every property and method.
#Performance
One character, one frame (apply, constraints, world transforms and vertices), median of 2,000 frames:
| Rig | JavaScript | Rust |
|---|---|---|
| 67 bones, 276 mesh vertices | 50 µs | 14.5 µs |
| 76 bones, 667 weighted vertices, 9 IK | 71 µs | 22 µs |
| 143 bones, 879 vertices, 21 transform/path constraints | 90 µs | 22 µs |